


What you need
(Not included)

1 x Pencil
1 x Level
2 x Screws per artwork
2 x Rawlplugs per artwork
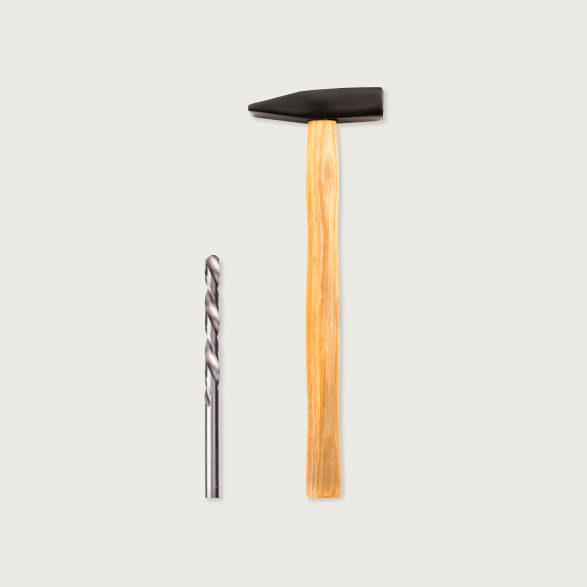
1x Drill
1x Hammer
1x Drilling machine
Included in your package

1 x Loose wall mount per artwork
Instructions
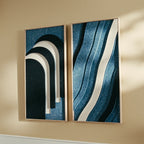
1. Determine placement
Decide where you want to hang the acoustic artworks in your space, considering both aesthetic and acoustic needs.
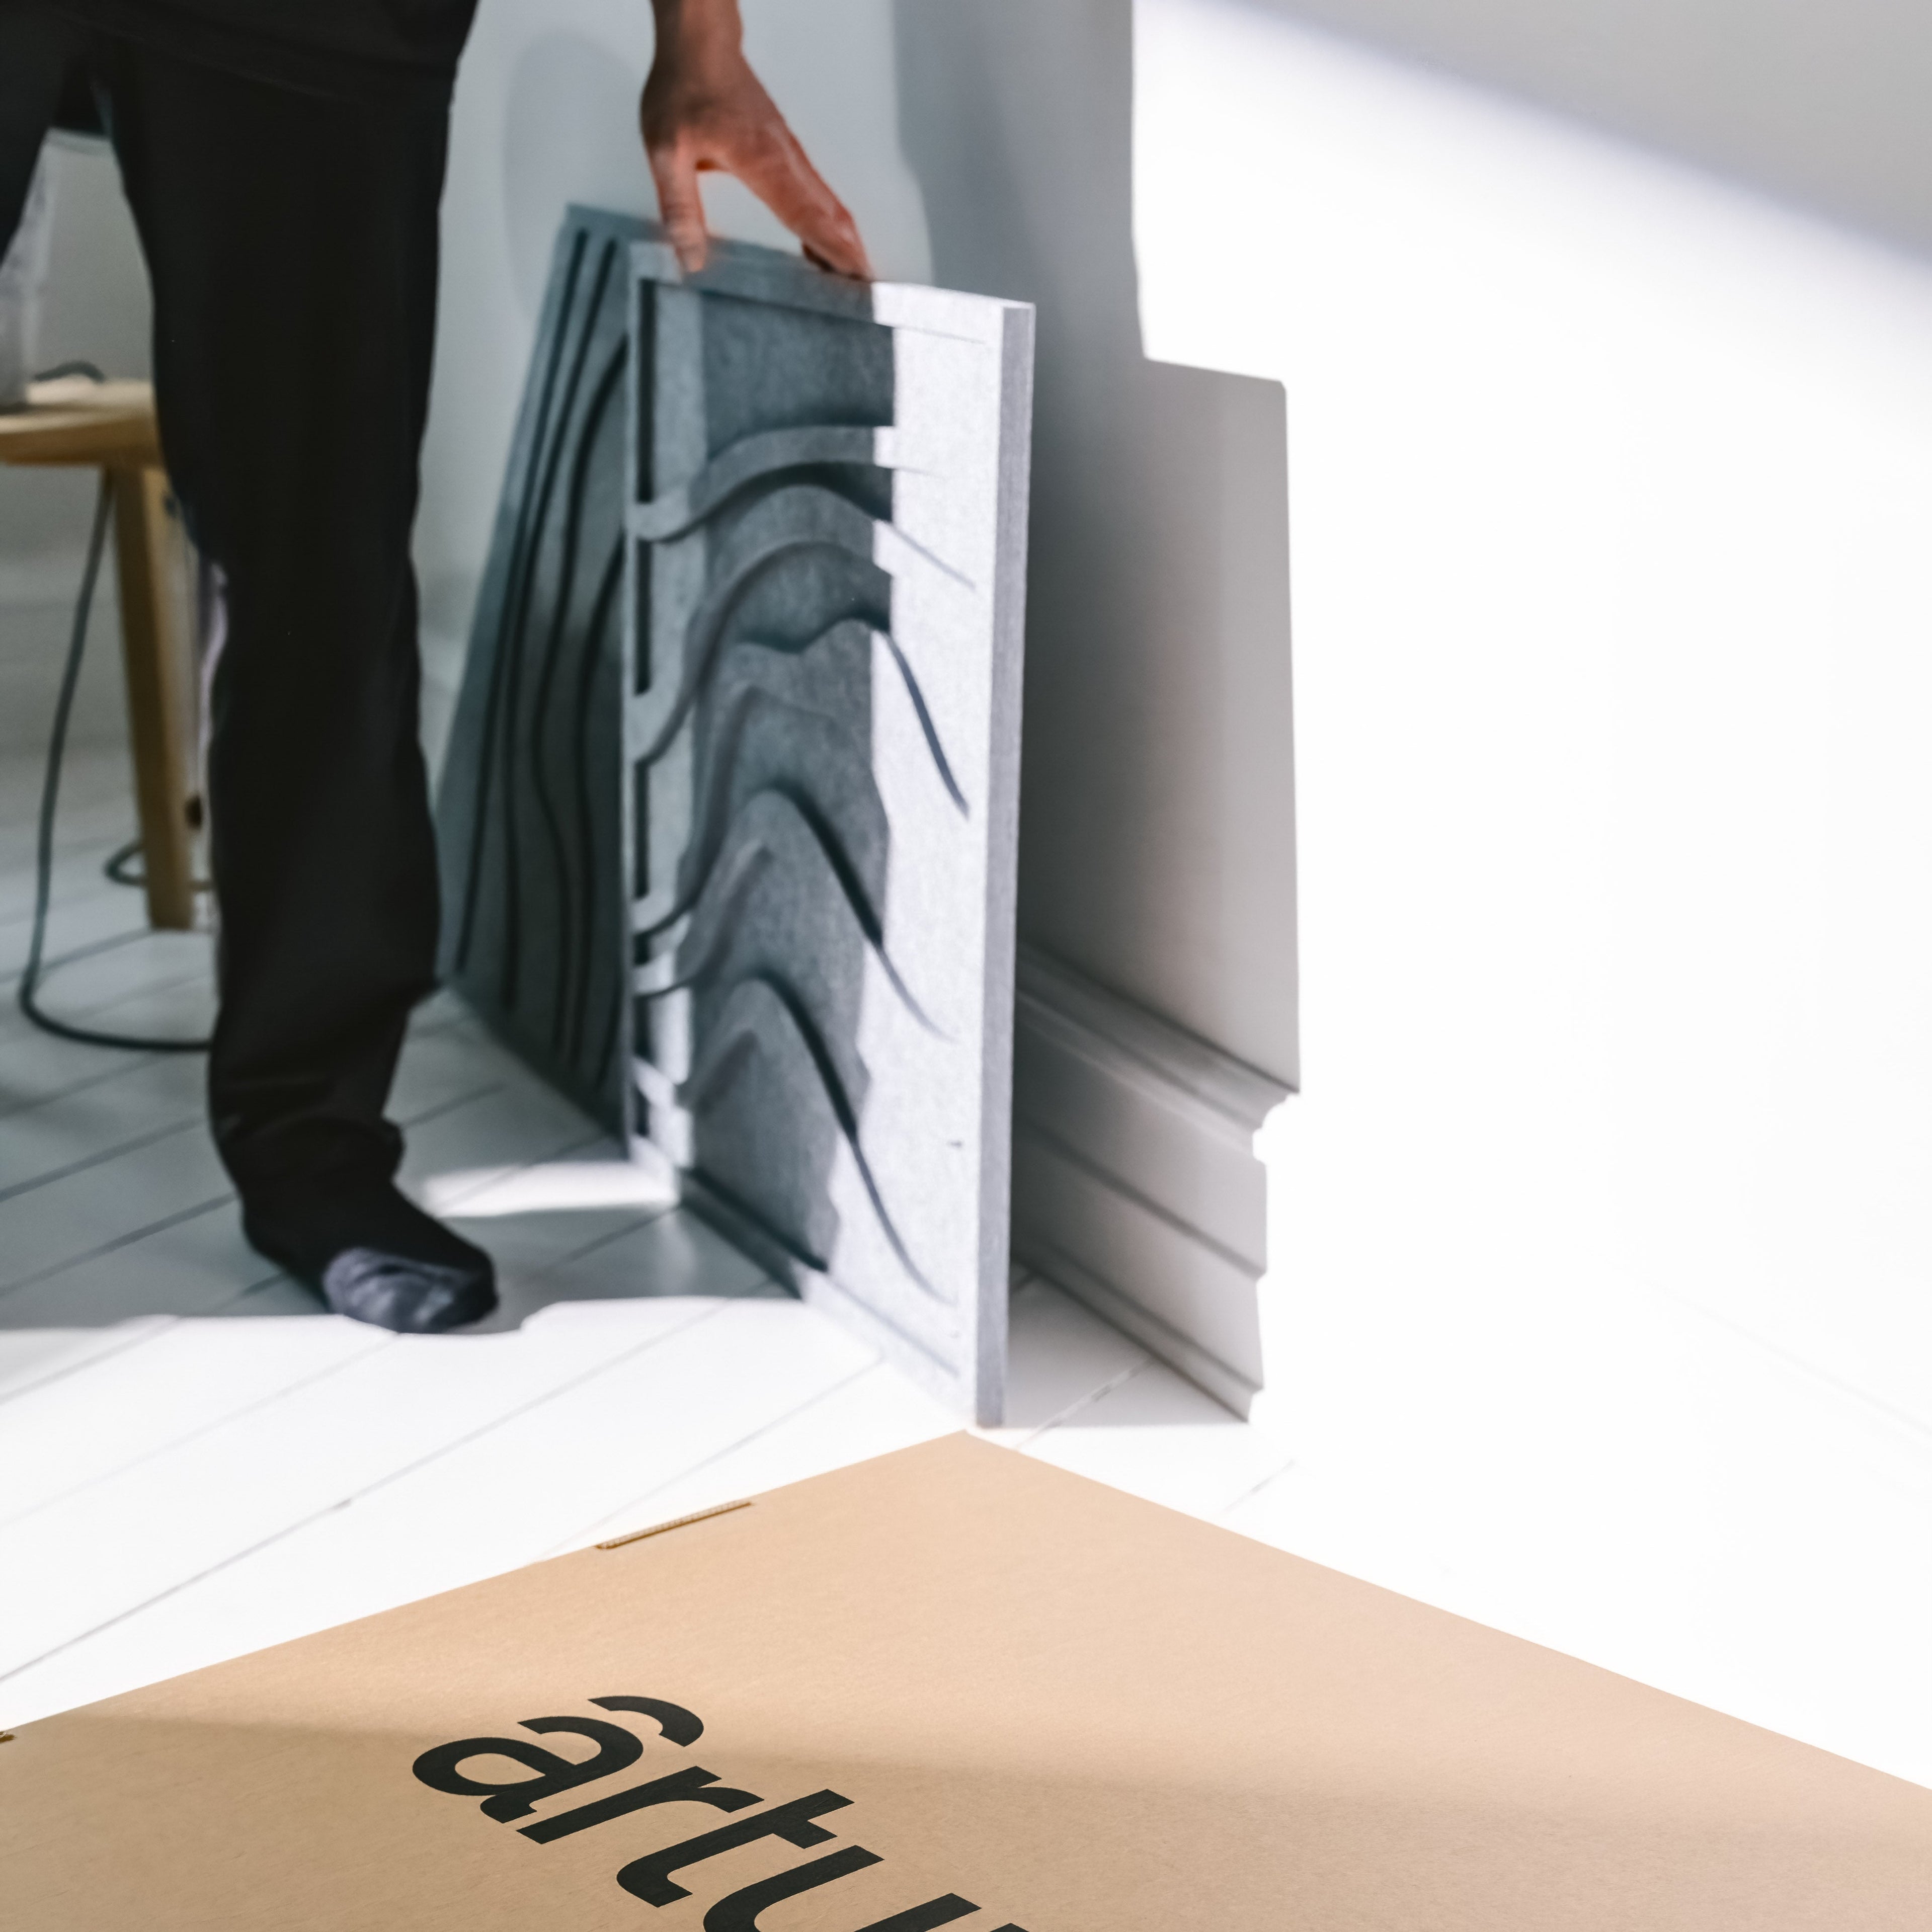
2. Gather tools and artworks
Make sure you have the necessary tools handy - check the list above to see what you need for the mounting.
Note the difference between "not included" and "included" in your arturel package.
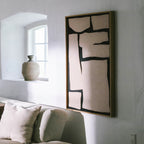
3. Measure height placement of your pieces
Take your ruler and your loose wall mount and use them to measure the correct height/placement on the wall.
4. Mark placement on your wall
Mark the placement on your wall using the loose wallmount and a level to accurately measure and mark the positions on the wall where you would like to install the artworks.
5. Drill and rawlplugs
Remove the loose wall mount again and drill two holes on your marked position.
Insert the rawlplugs securely into the holes using a hammer.
6. Install the loose wall mount
Take your loose wall mount and place it on the wall, so the "pointy" site is facing up and out from the wall.
Use the two screws and install the wall mount using a level to place it correctly.
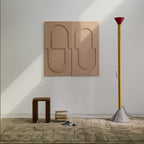
7. Place your artwork
Take your artwork and use the mounts on the artwork to hang on the wall mount.
Each artwork has multiple hangers on the back, so you can change and turn the artwork to your preference.
Use the playful design to create your own expression or change it when you'd like to renew a little.
8. Add more pieces to your collection
We hope the guide was helpful. If you need assistance, please contact us
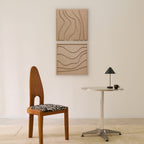
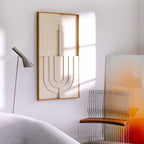
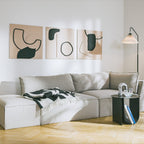
Looking to get inspired?
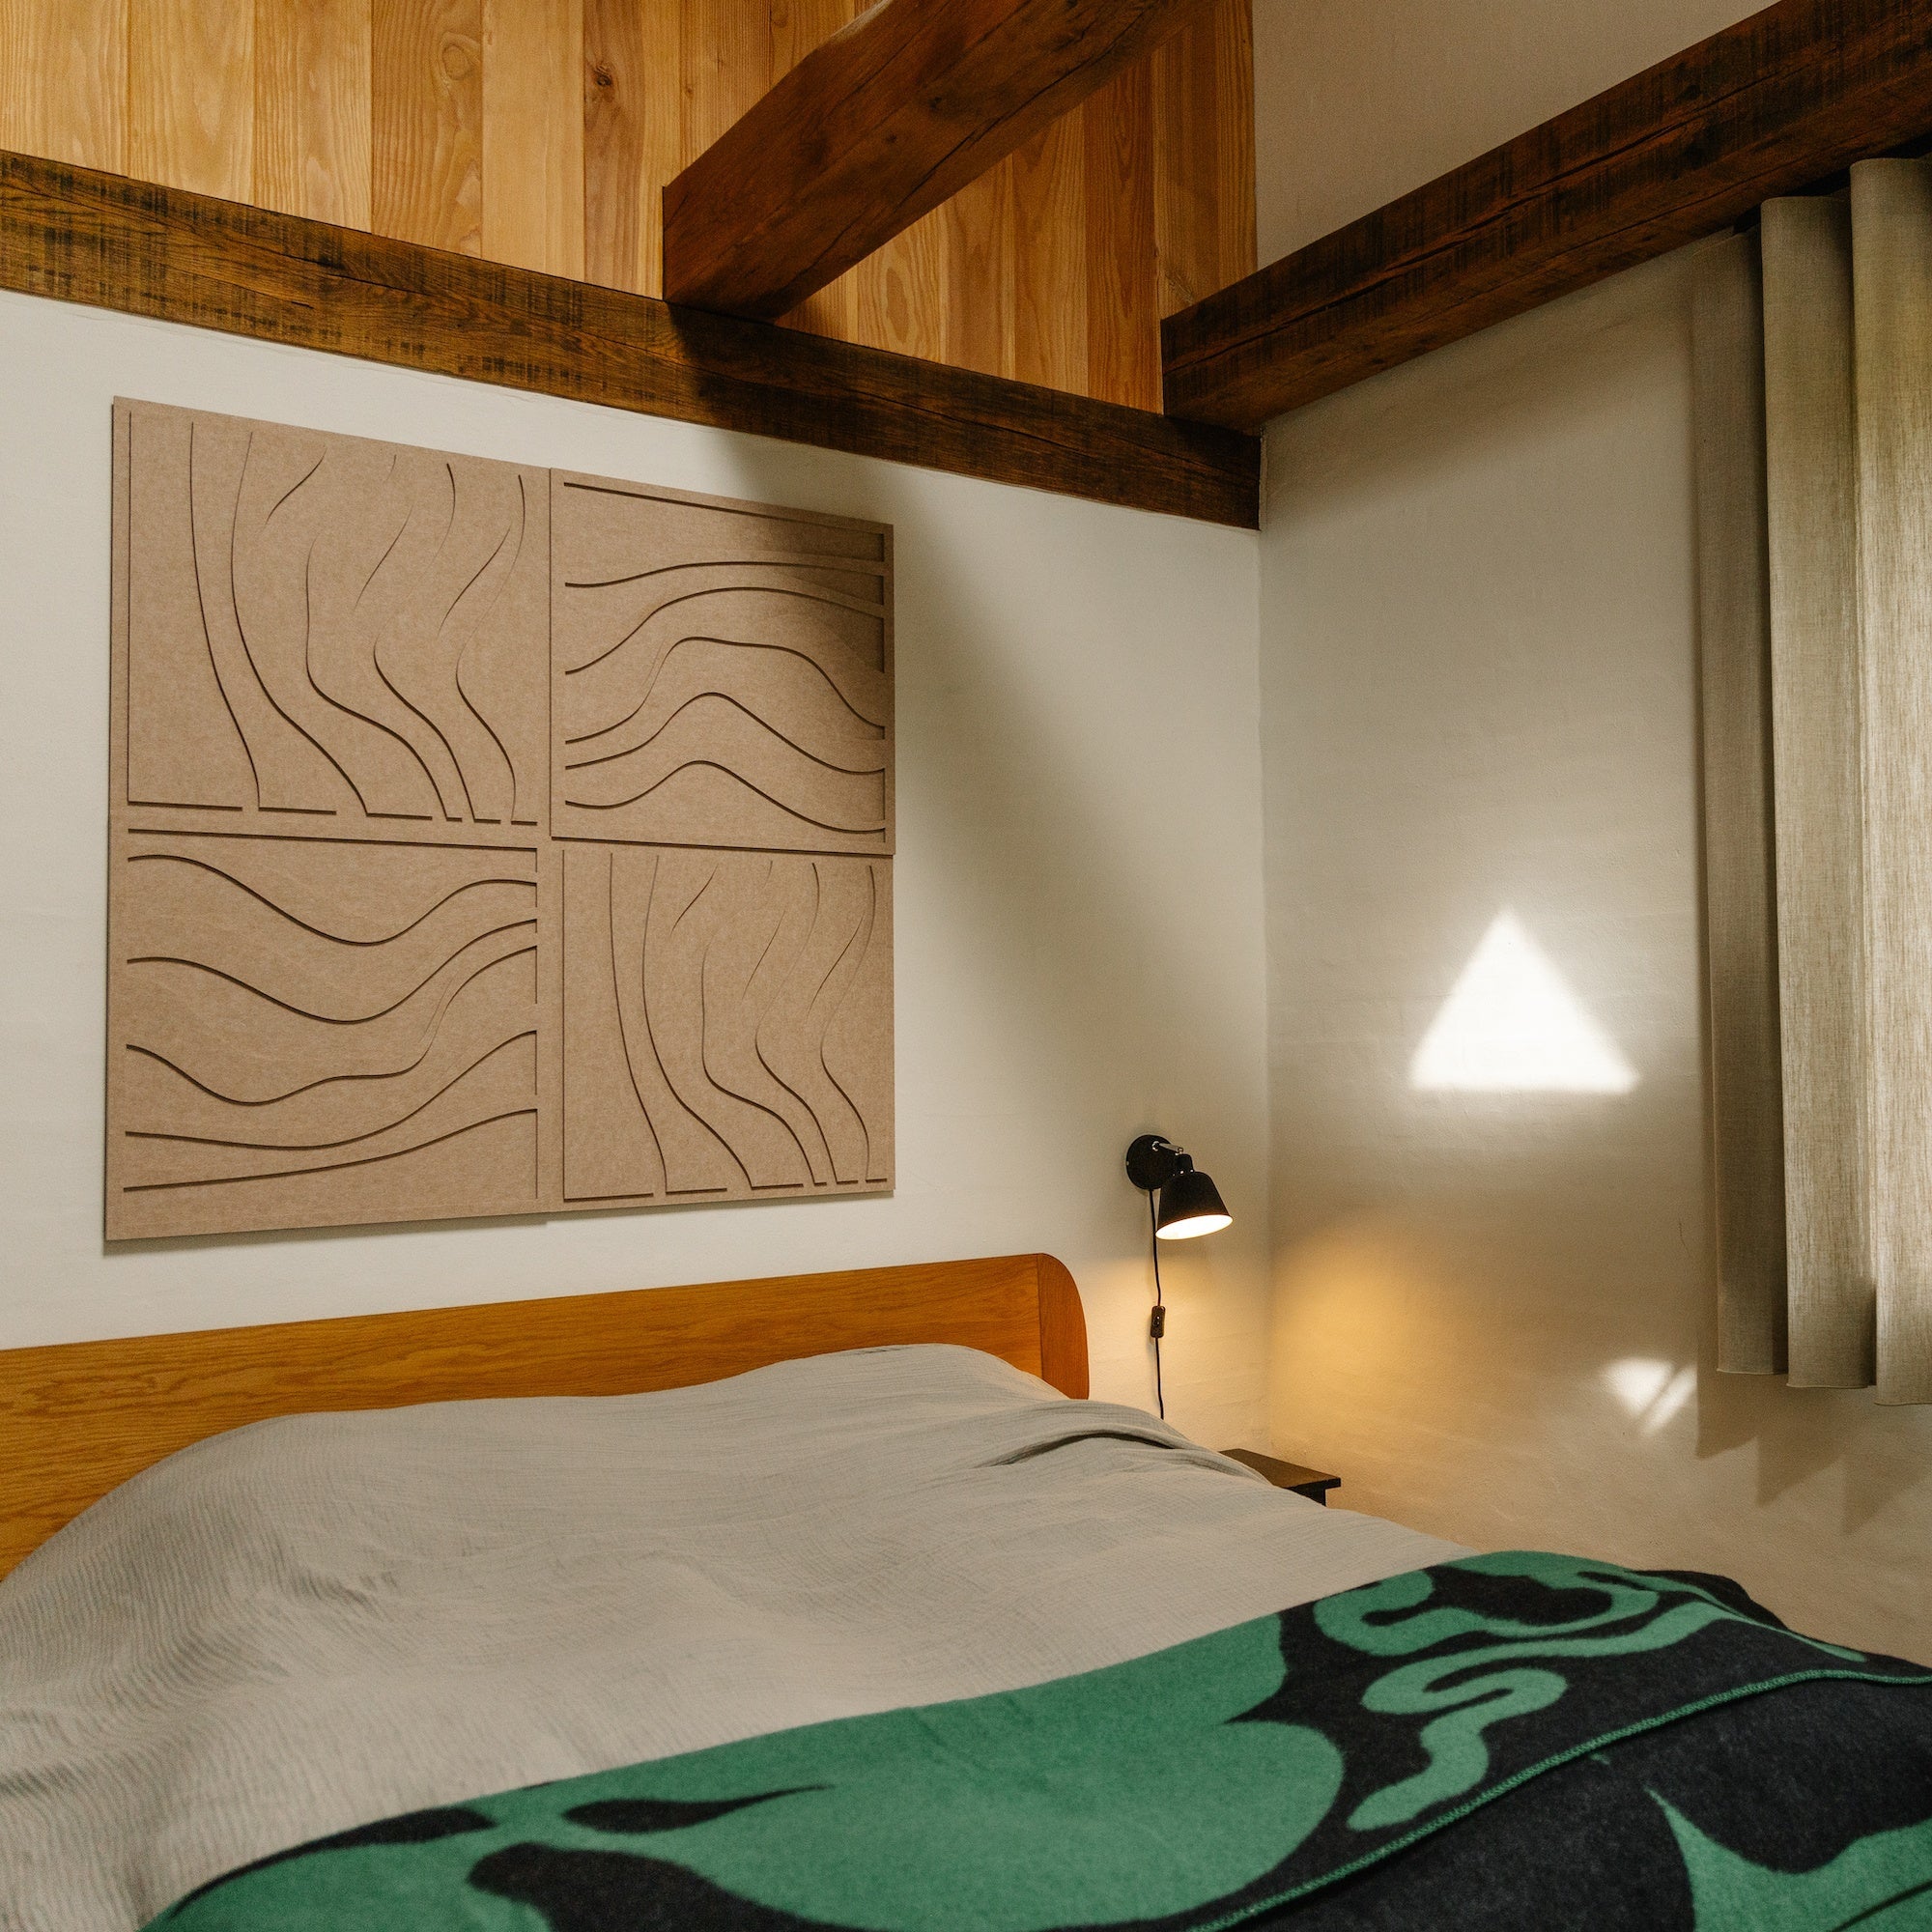
Bedroom
Coming soon
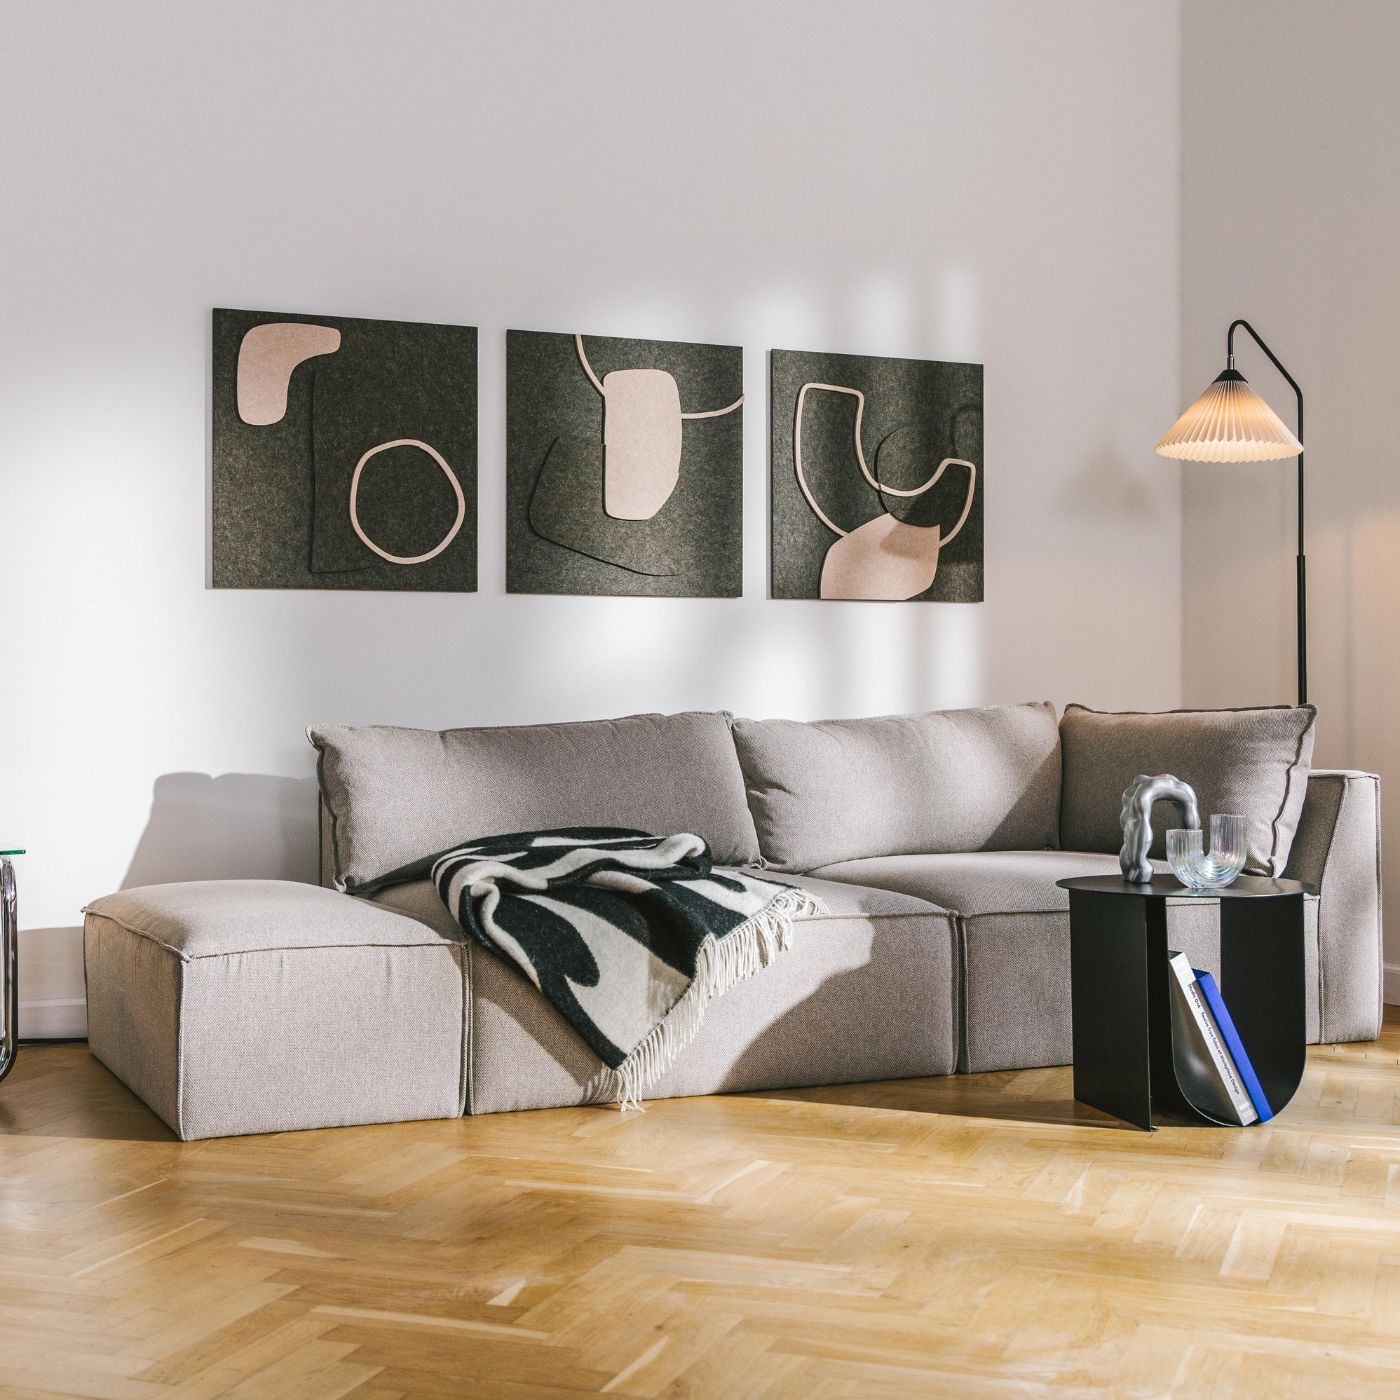
Living room
Coming soon
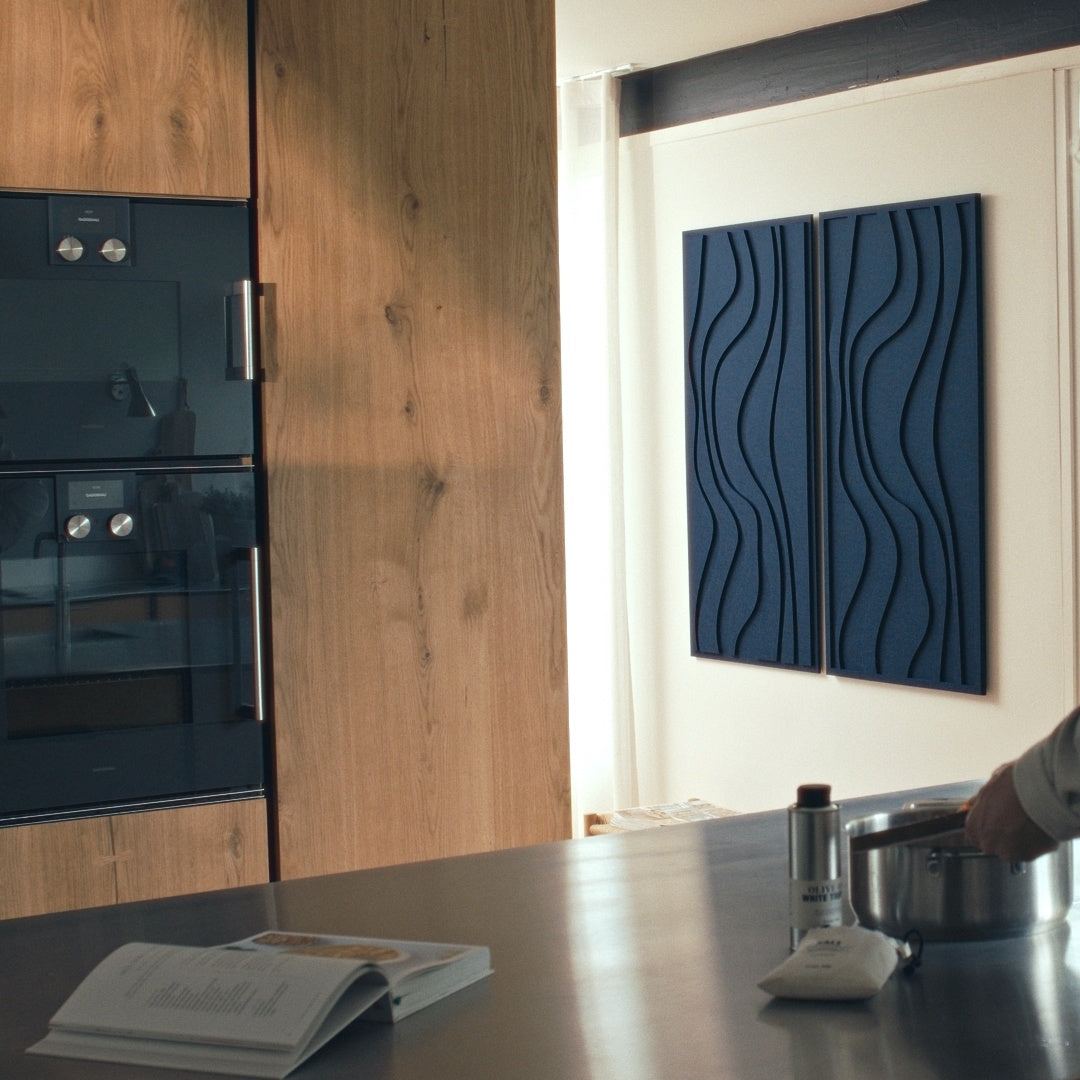
Kitchen
Coming soon

Entrance
Coming soon

Dining room
Coming soon
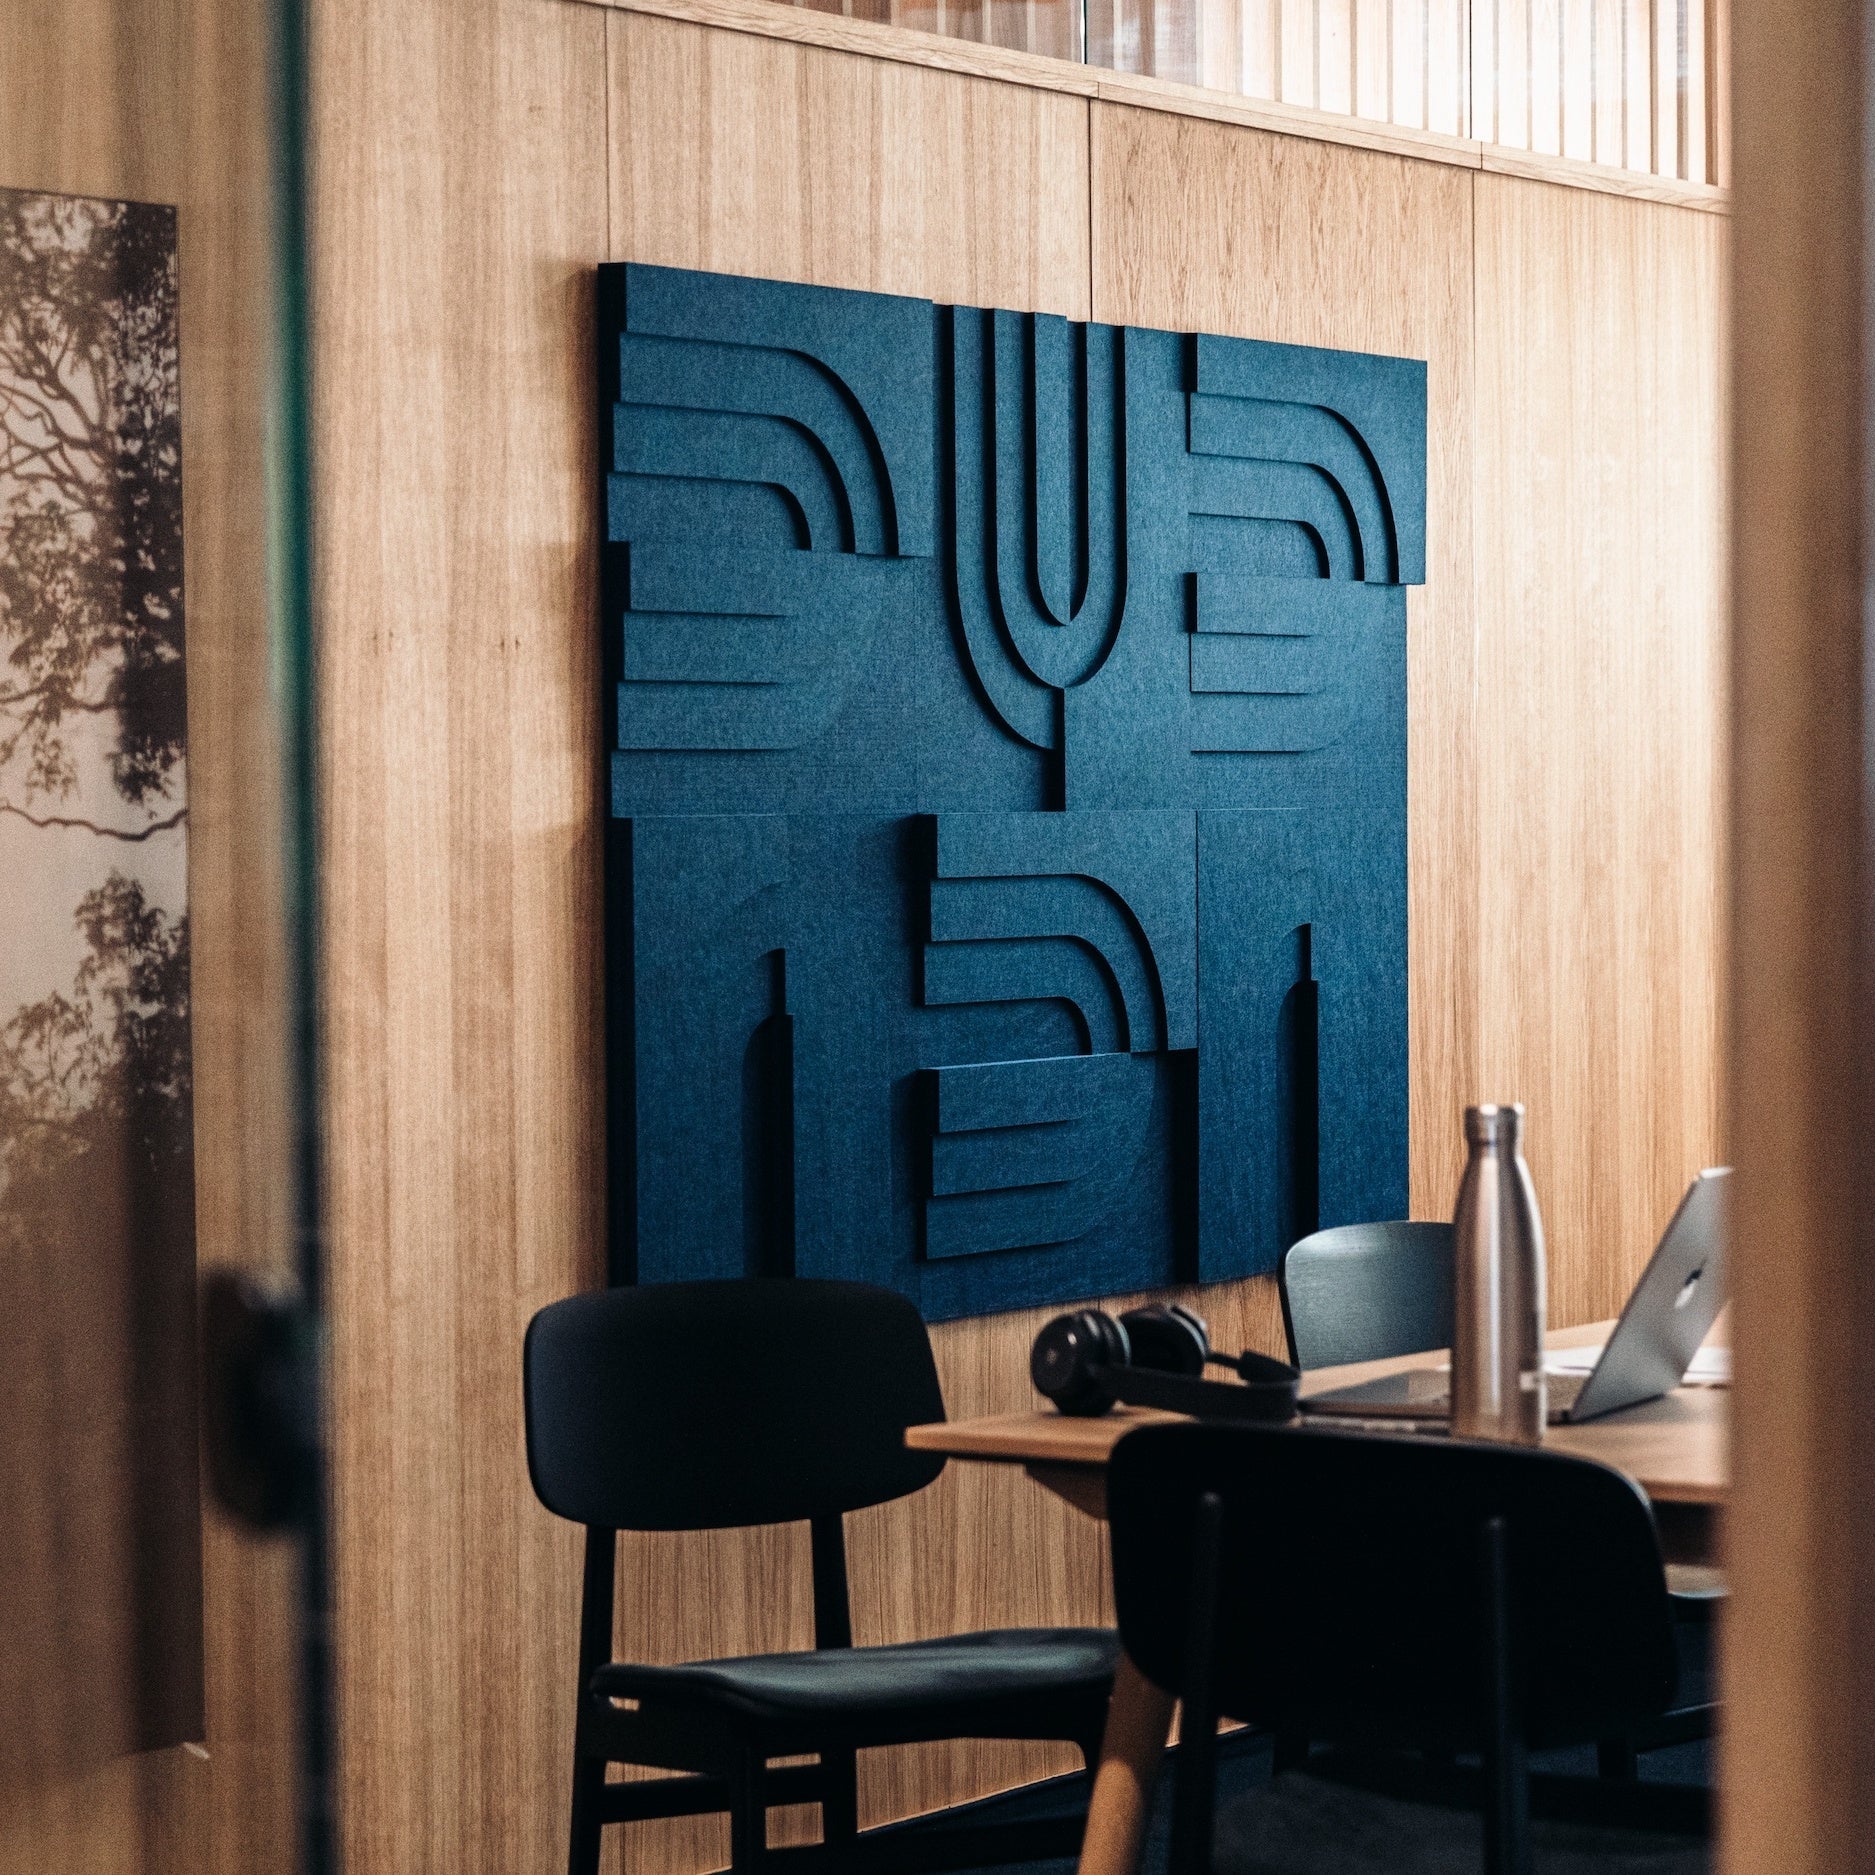
Meeting room
Coming soon